
Ribbon Pakoda is a crunchy, tasty savory made by preparing a dough of different flour & spices and then frying it after passing through press or mould. Ribbon Pakoda is commonly made in homes during Diwali, Ganesh Chaturthi, Krishna Jayanthi and a healthy snack compared to the packed foods. Ribbon Pakoda also called as Nada Thenkuzhal, Ola Pakoda or Ribbon Murukku is one of my fav snacks. We used to call it oatu pakoda as it sounds attractive. It can also be prepared with just gram but rice flour adds the crisp texture which you may miss with gram flour. Oatu pakoda is my elder daughter’s favorite one. In other types of murukku we’ll prepare without much spice but this one we’ll add red chilli powder to enrich the taste. In Diwali time we prepare many sweets and many types of murukku. In that time, we are all prefer this spicy red oatu pakoda. This can be easily prepare not taking much time. If all flours are available in pantry, we plan in the afternoon it’ll be ready to have with evening coffee.
Watch Ribbon Pakoda Recipe | Ribbon Murukku Recipe | Ola Pakoda


Ribbon Pakoda Recipe | Ribbon Murukku Recipe | Ola Pakoda
Ingredients
How to make Ribbon Pakoda Recipe | Ribbon Murukku Recipe | Ola Pakoda
-
To prepare ribbon murukku, firstly make ready to sieve the store-bought flours.

-
In a fine sieve, take processed rice flour / idiyappam maavu.

-
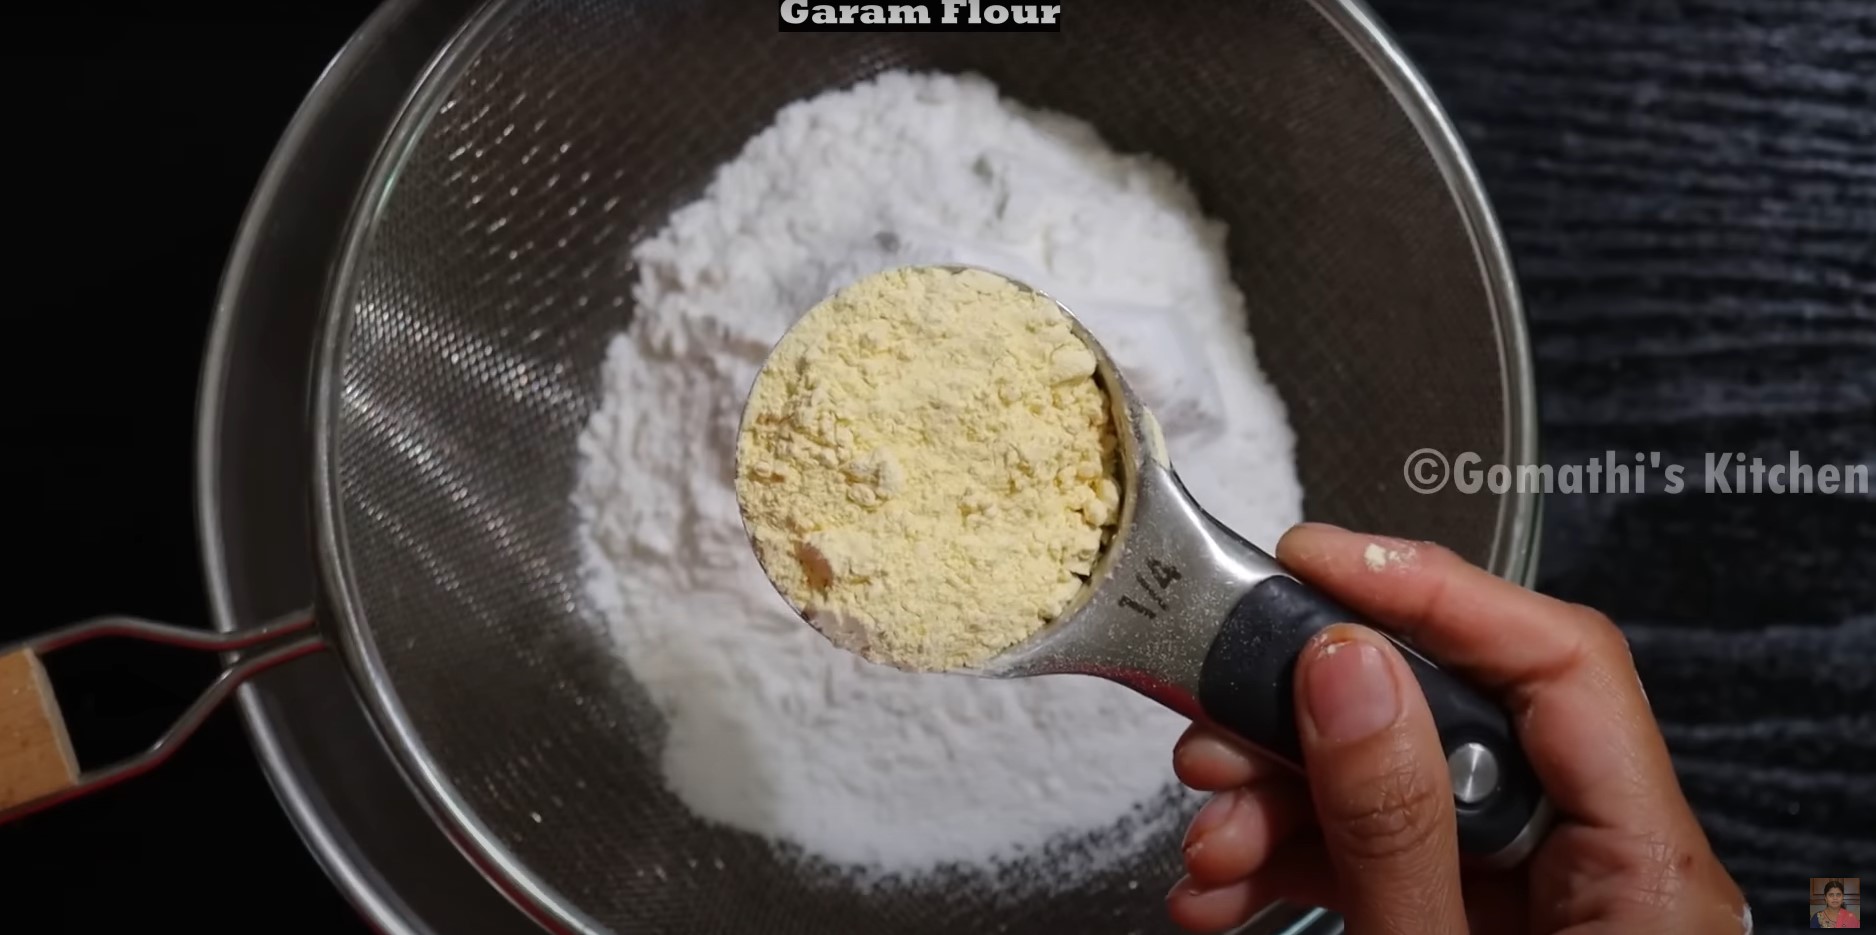
To this add store-bought gram flour.
-
Add roasted chana dal powder.

-
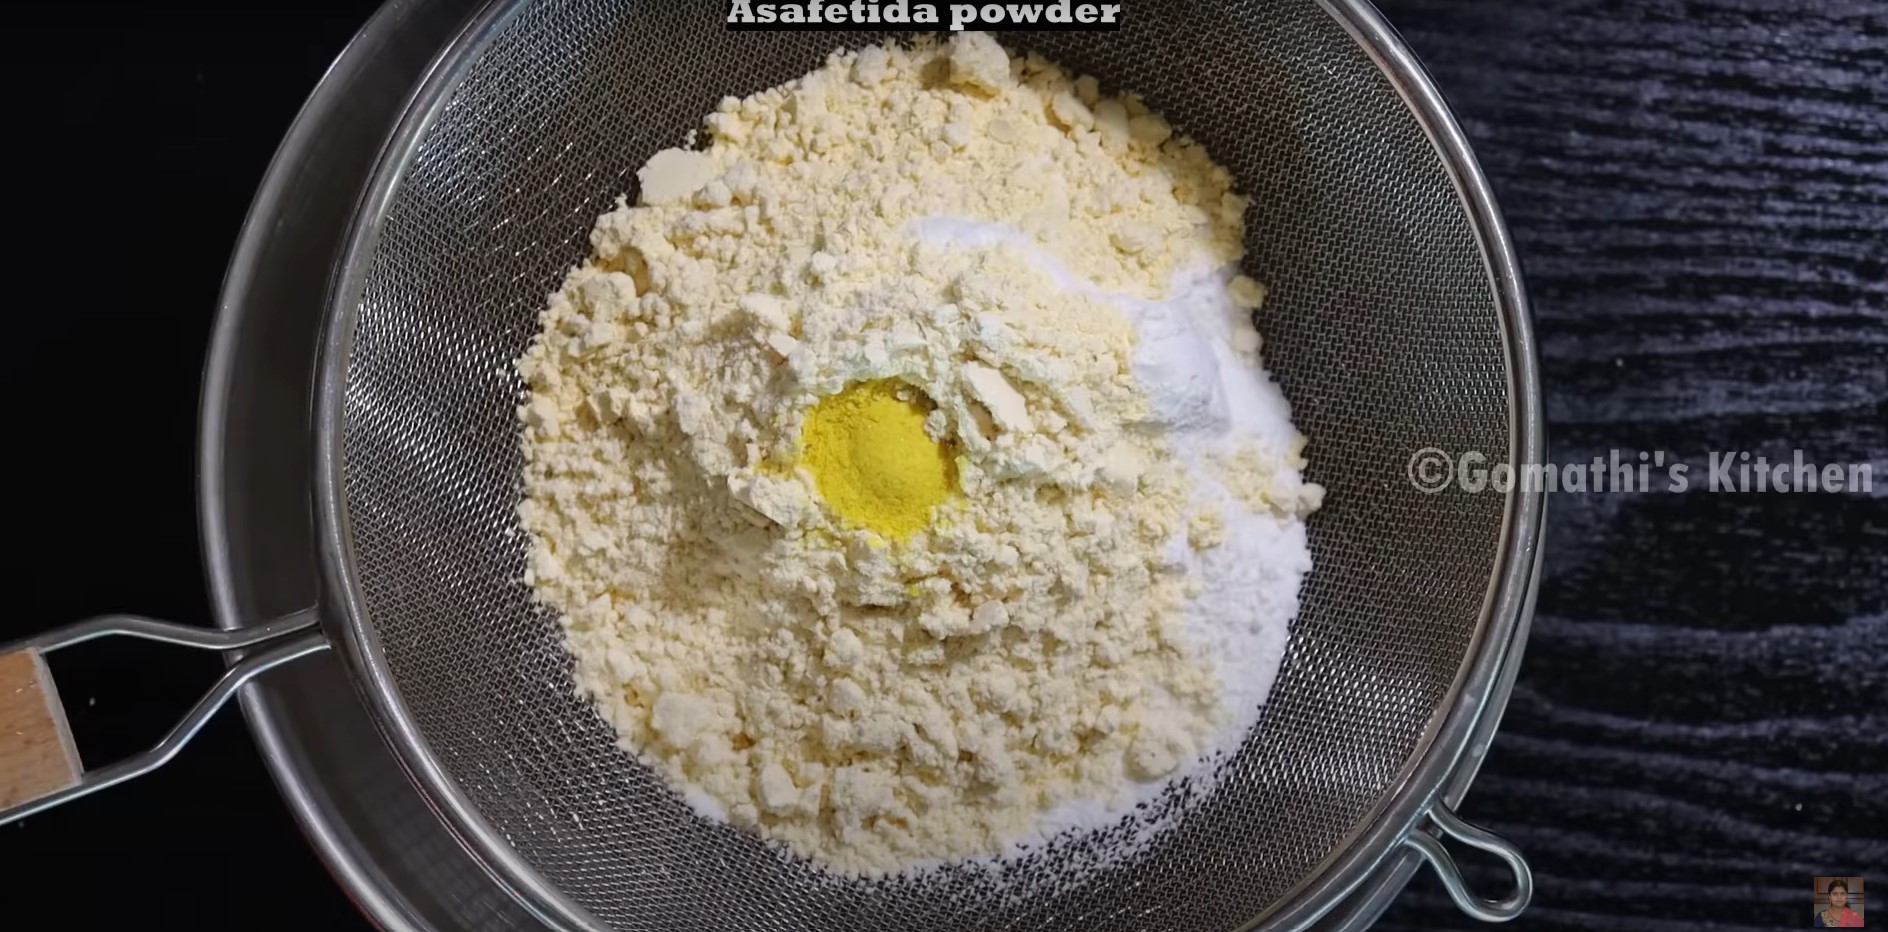
Add asafoetida powder.
-
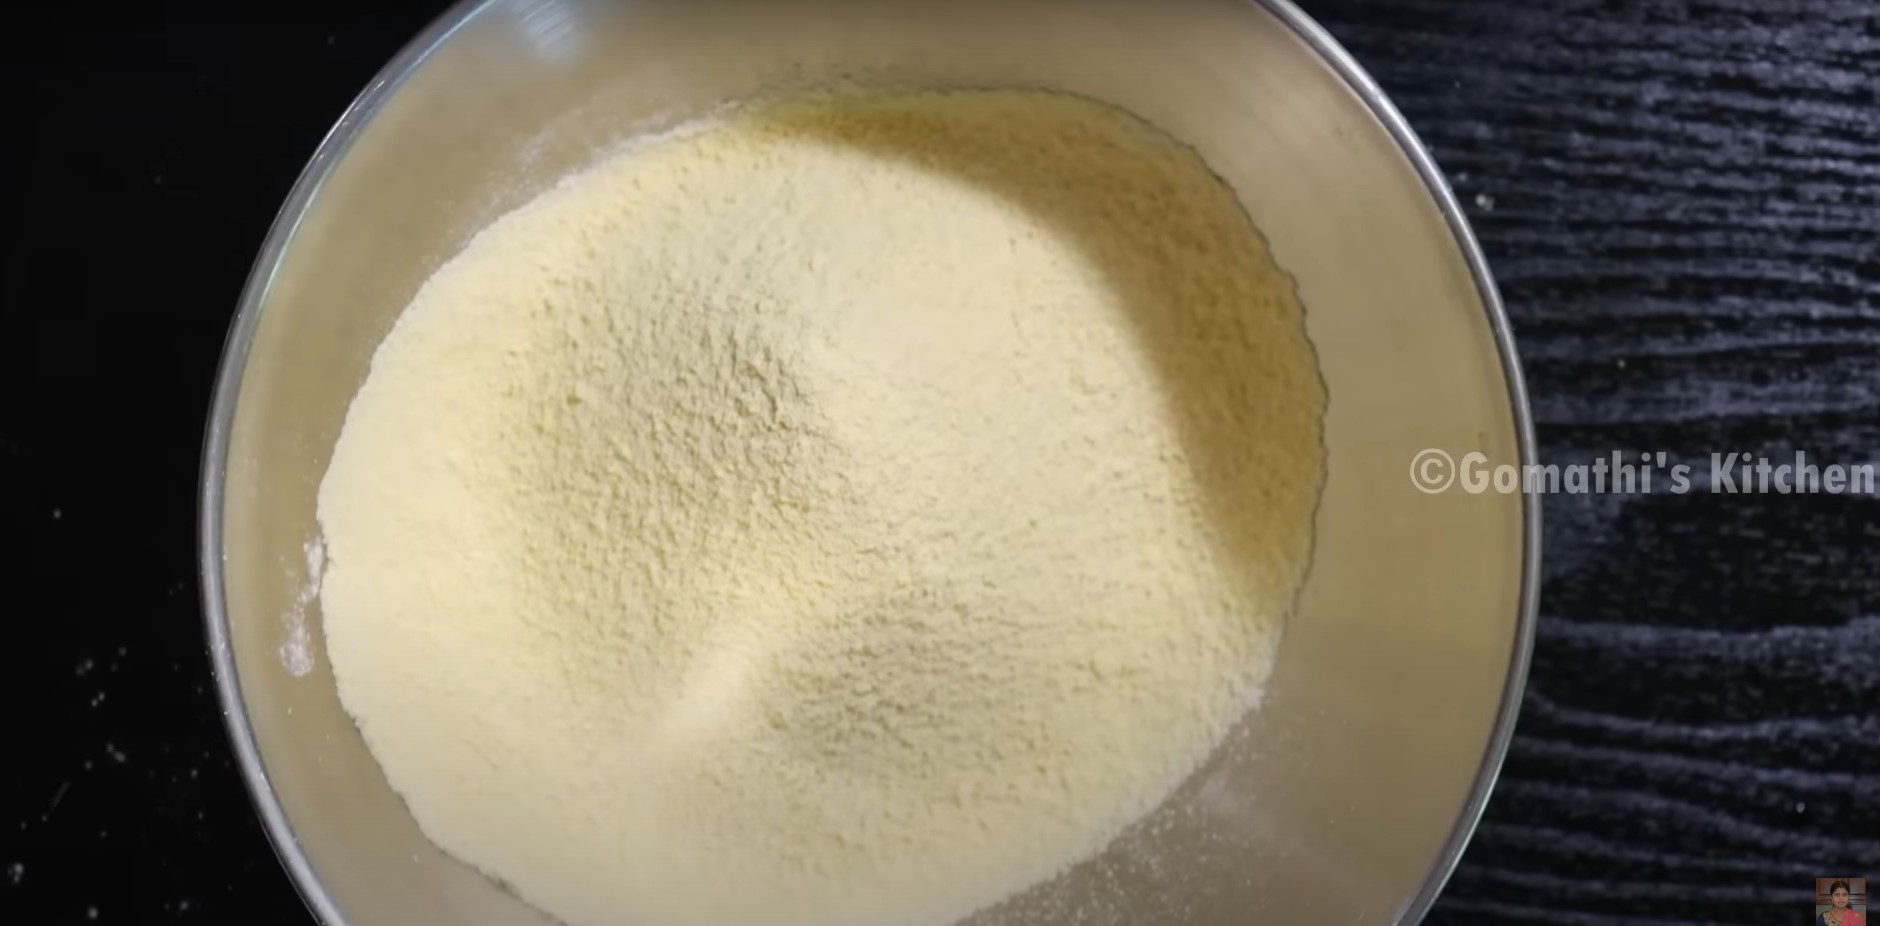
Sift nicely to remove hard particles.
-
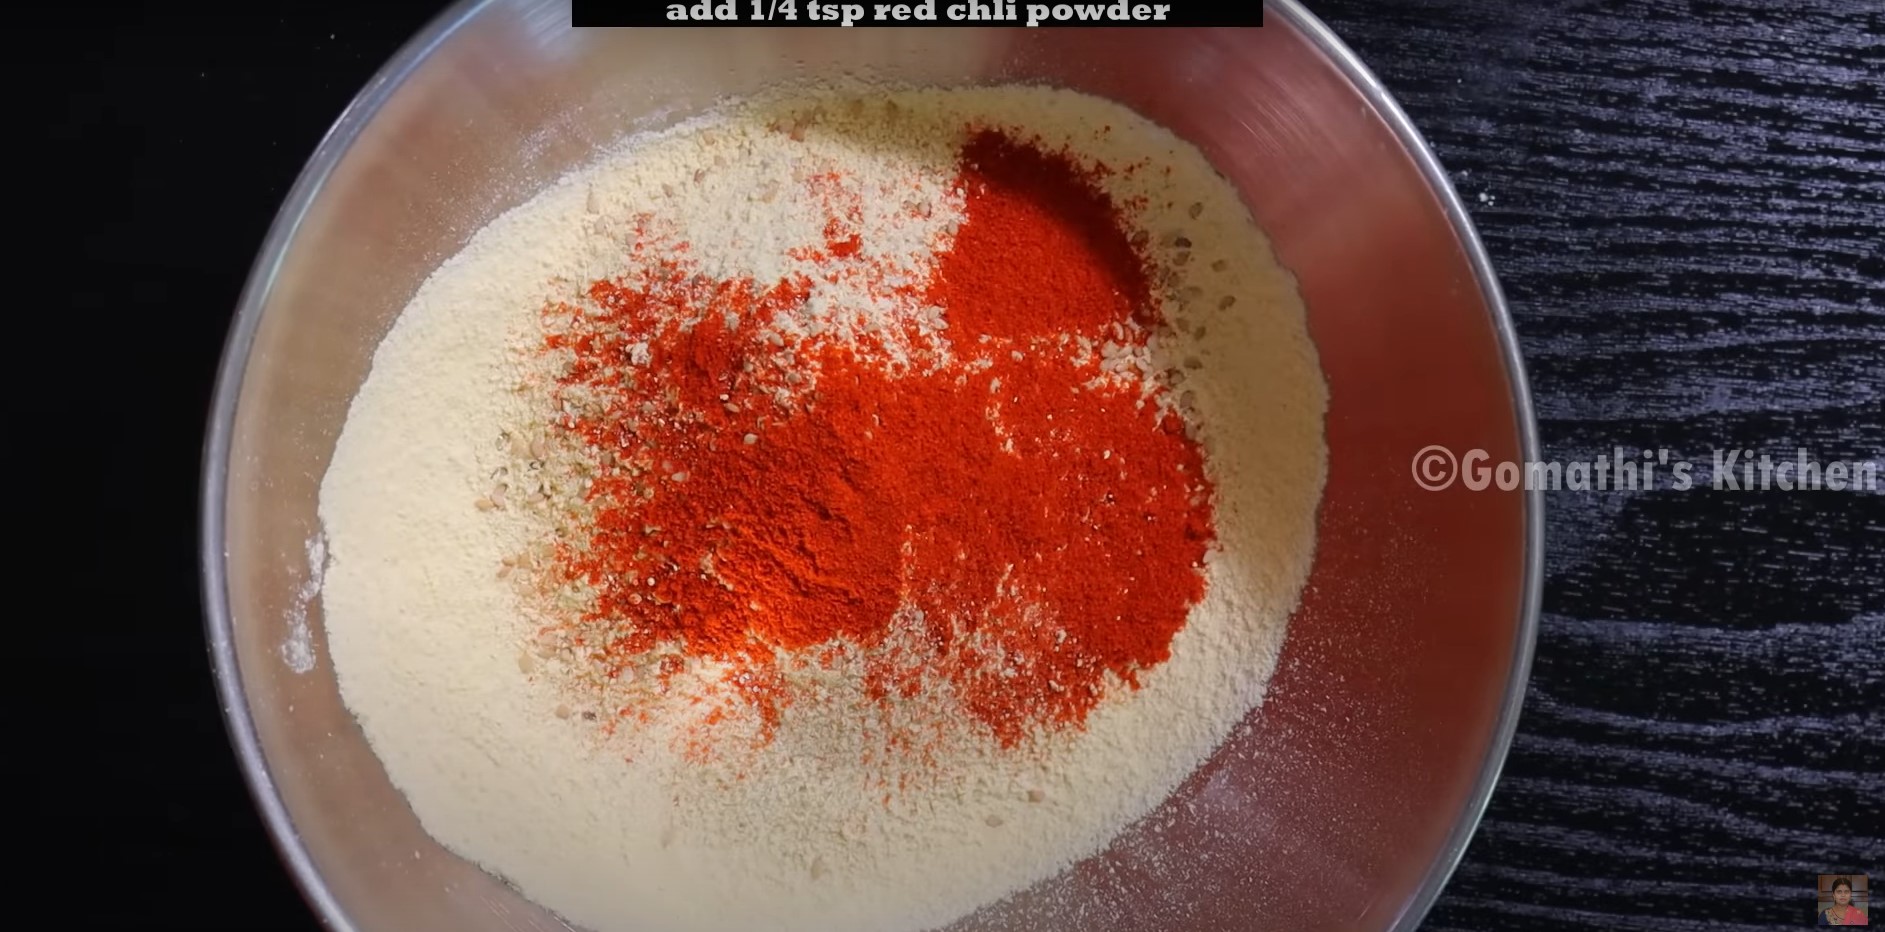
Add cleaned white sesame seeds.

-
Add red chilli powder
-
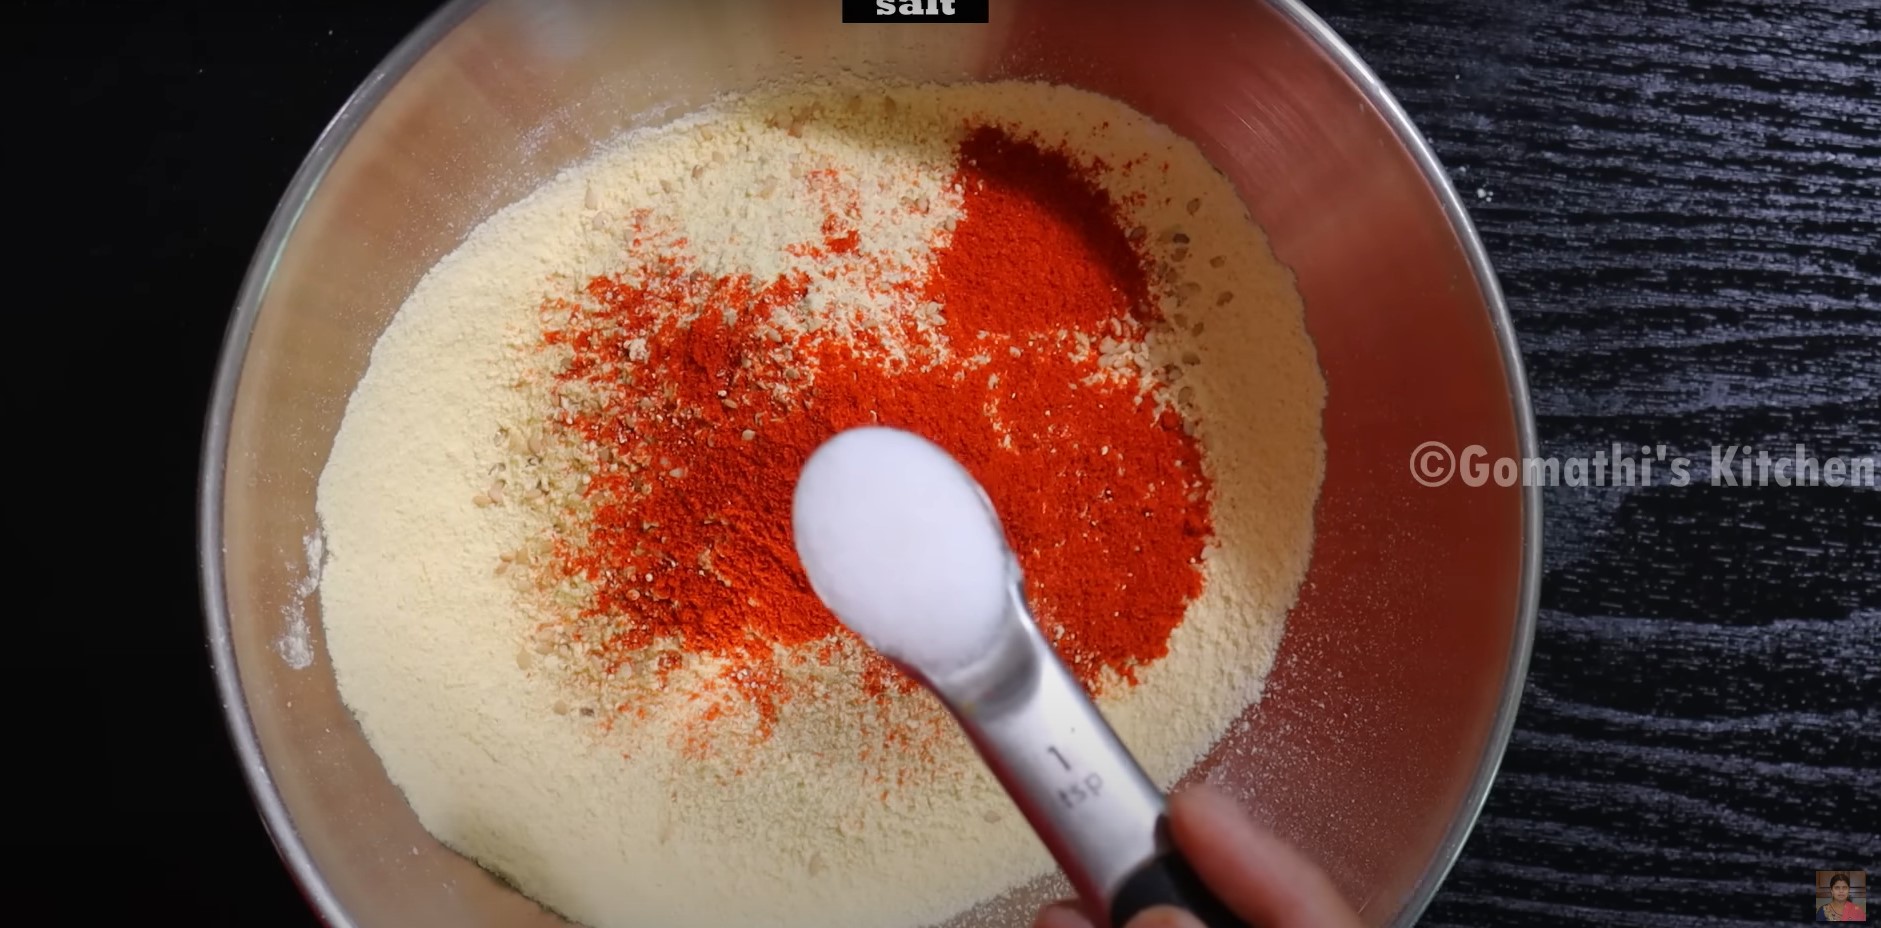
Add salt to these flours.
-
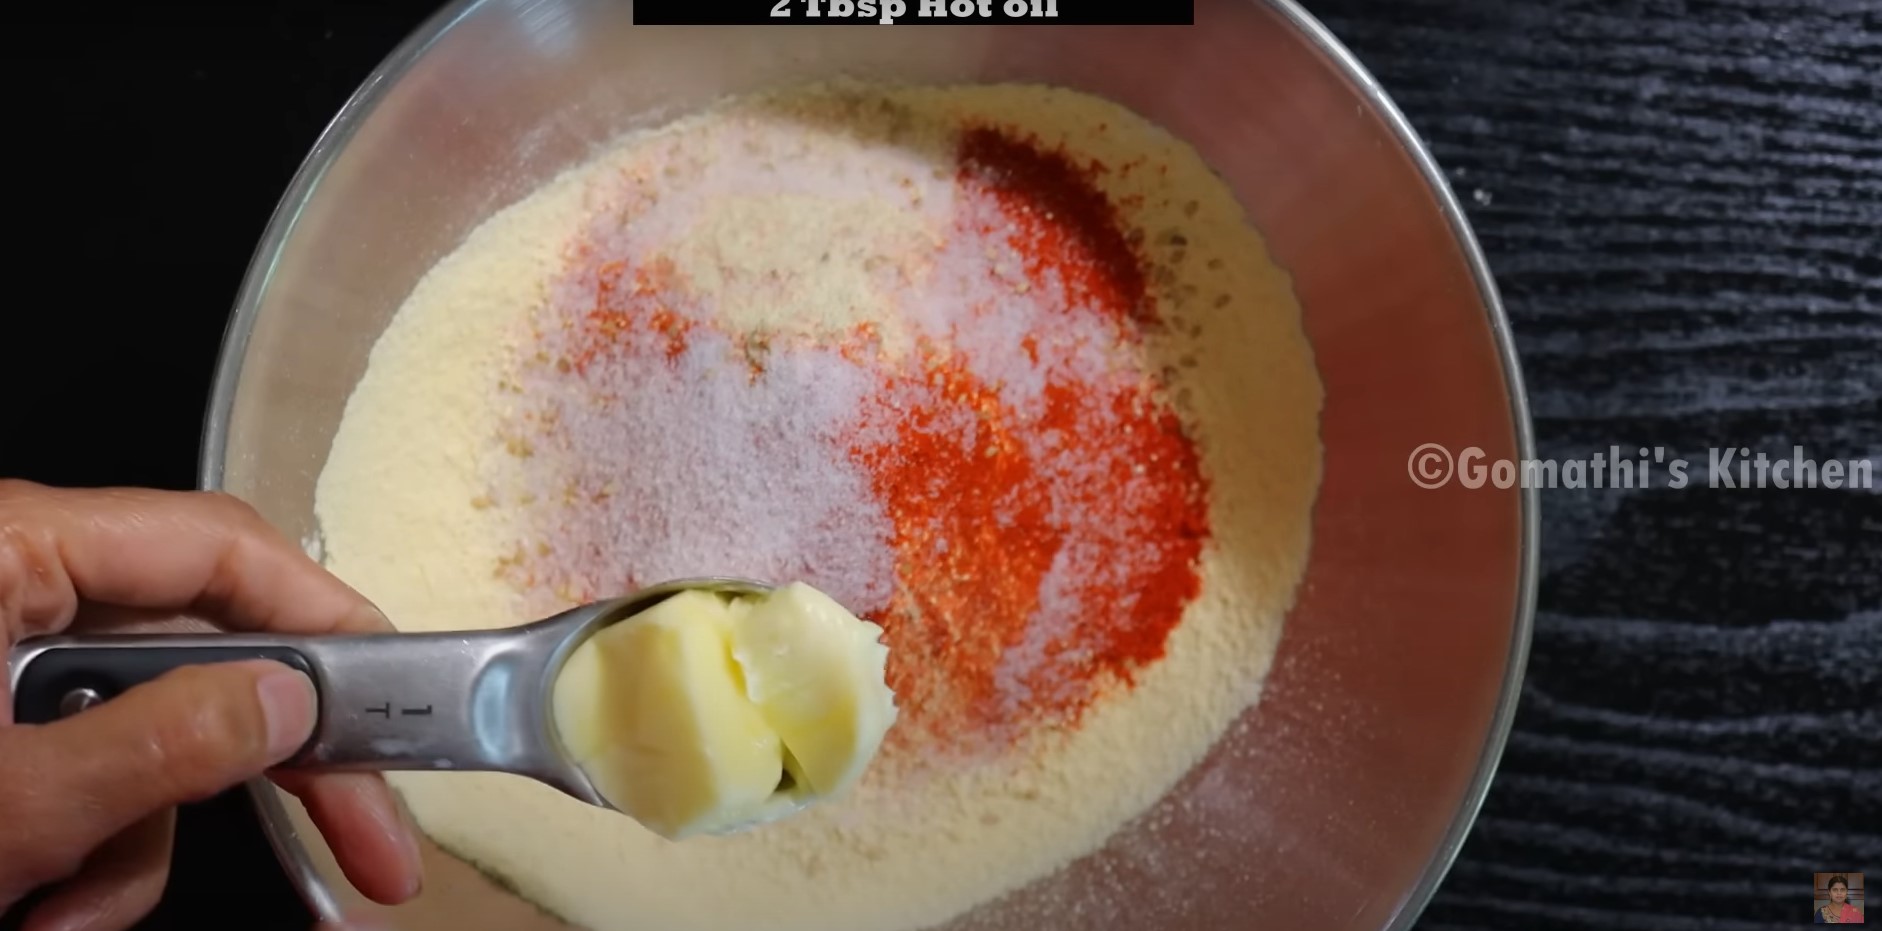
Add unsalted butter or hot oil.
-
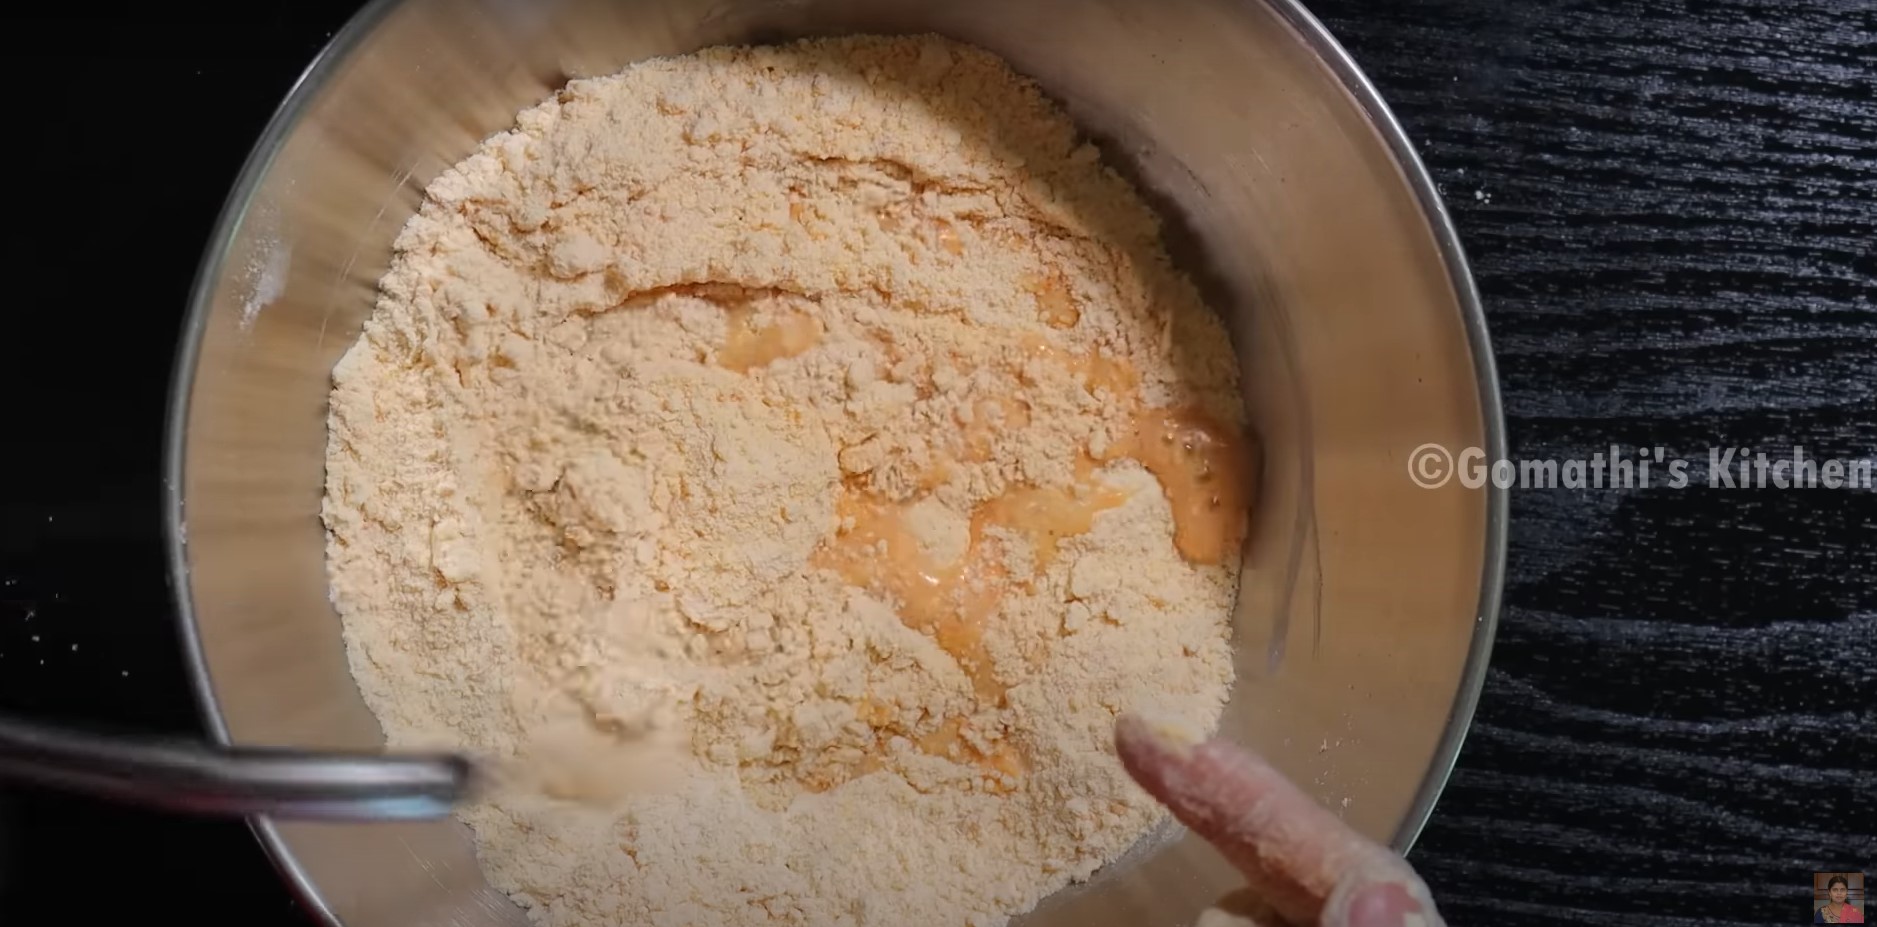
Mix well with clean hand.

-
Add water little by little to knead the dough.
-
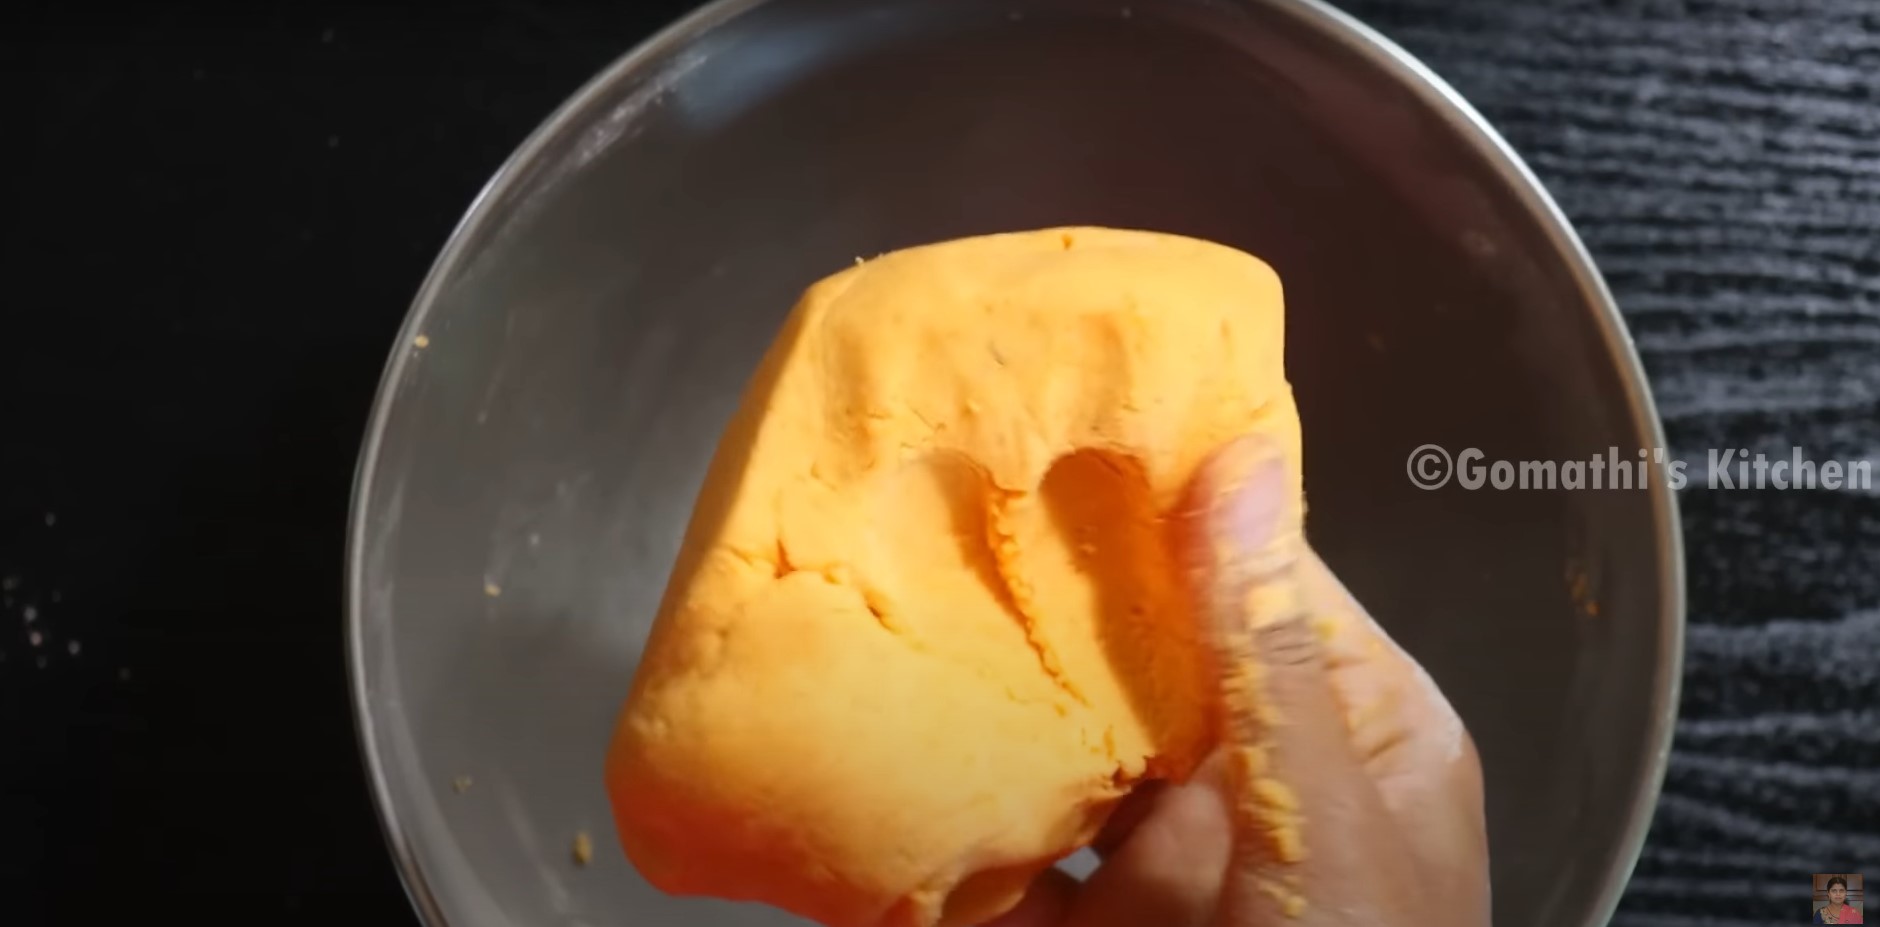
Prepare like soft chapati dough, not too hard or thin.
-
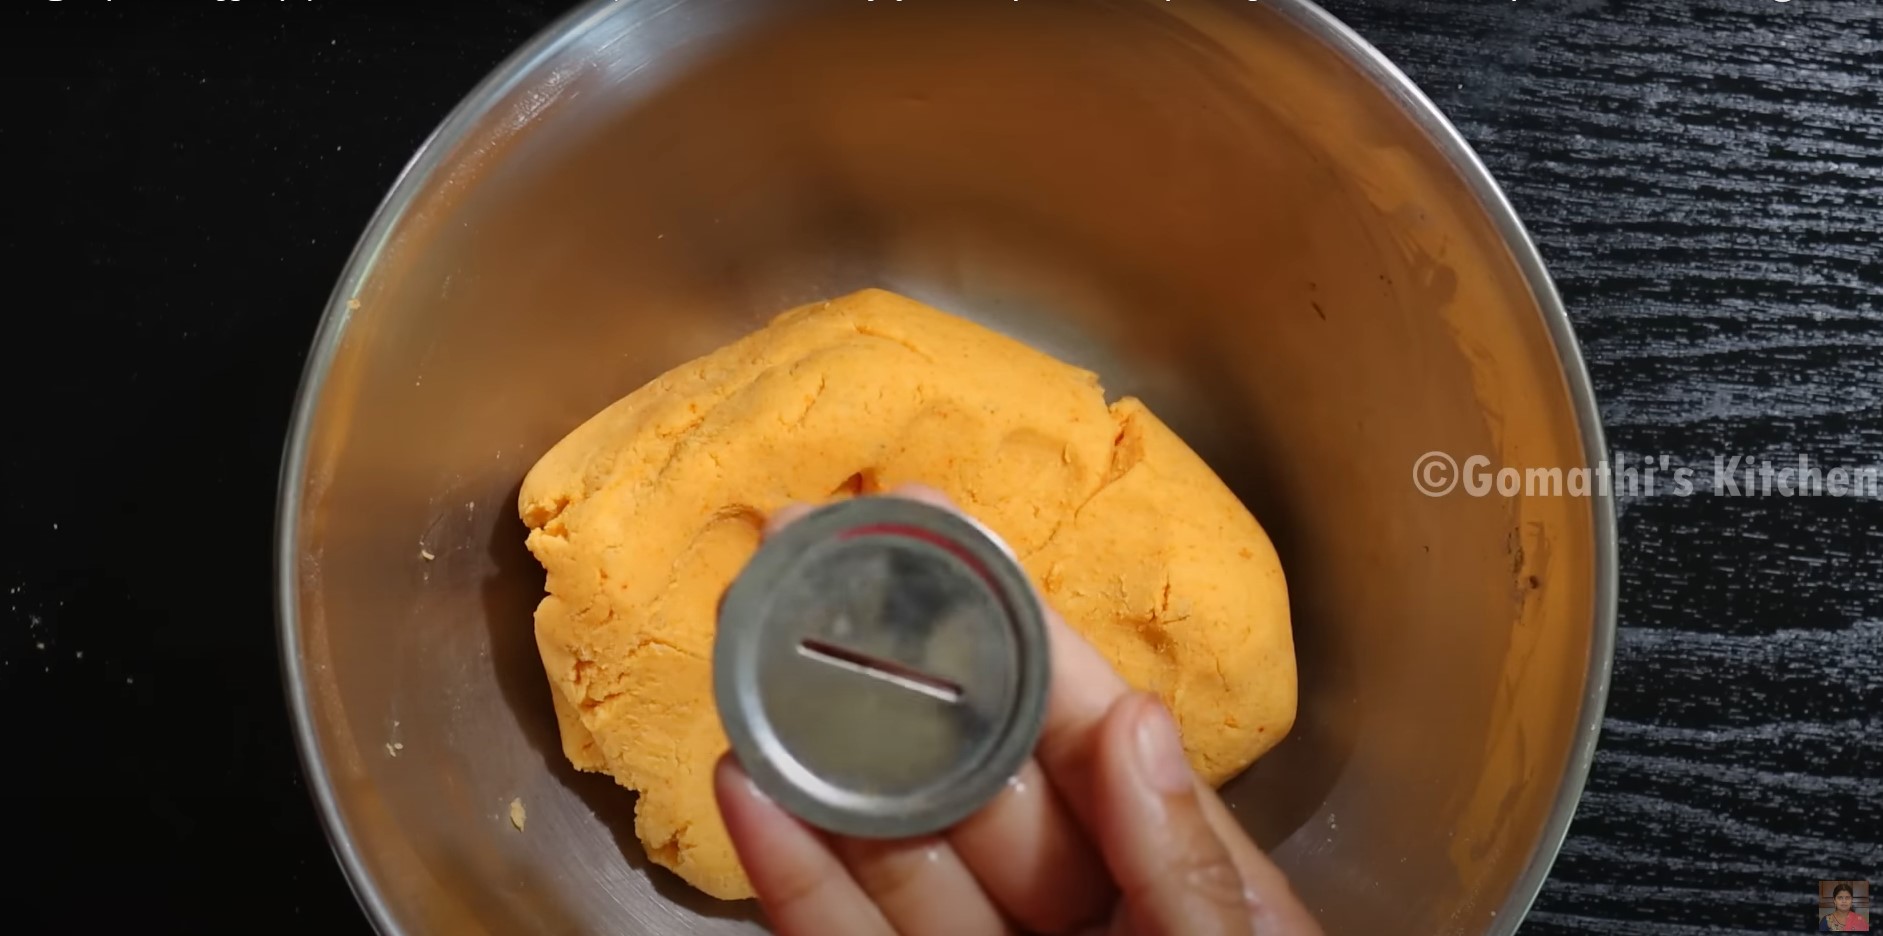
Use the disc shown in the below picture for preparing ribbon pakoda. This shape is a plain and has no serrated edges. You can even use the serrated edges.
-
Add black sesame seeds.

-
Apply some water or oil in the kitchen press. Then take a portion of the murukku dough and place it inside the kitchen press. Cover with the top part.

-
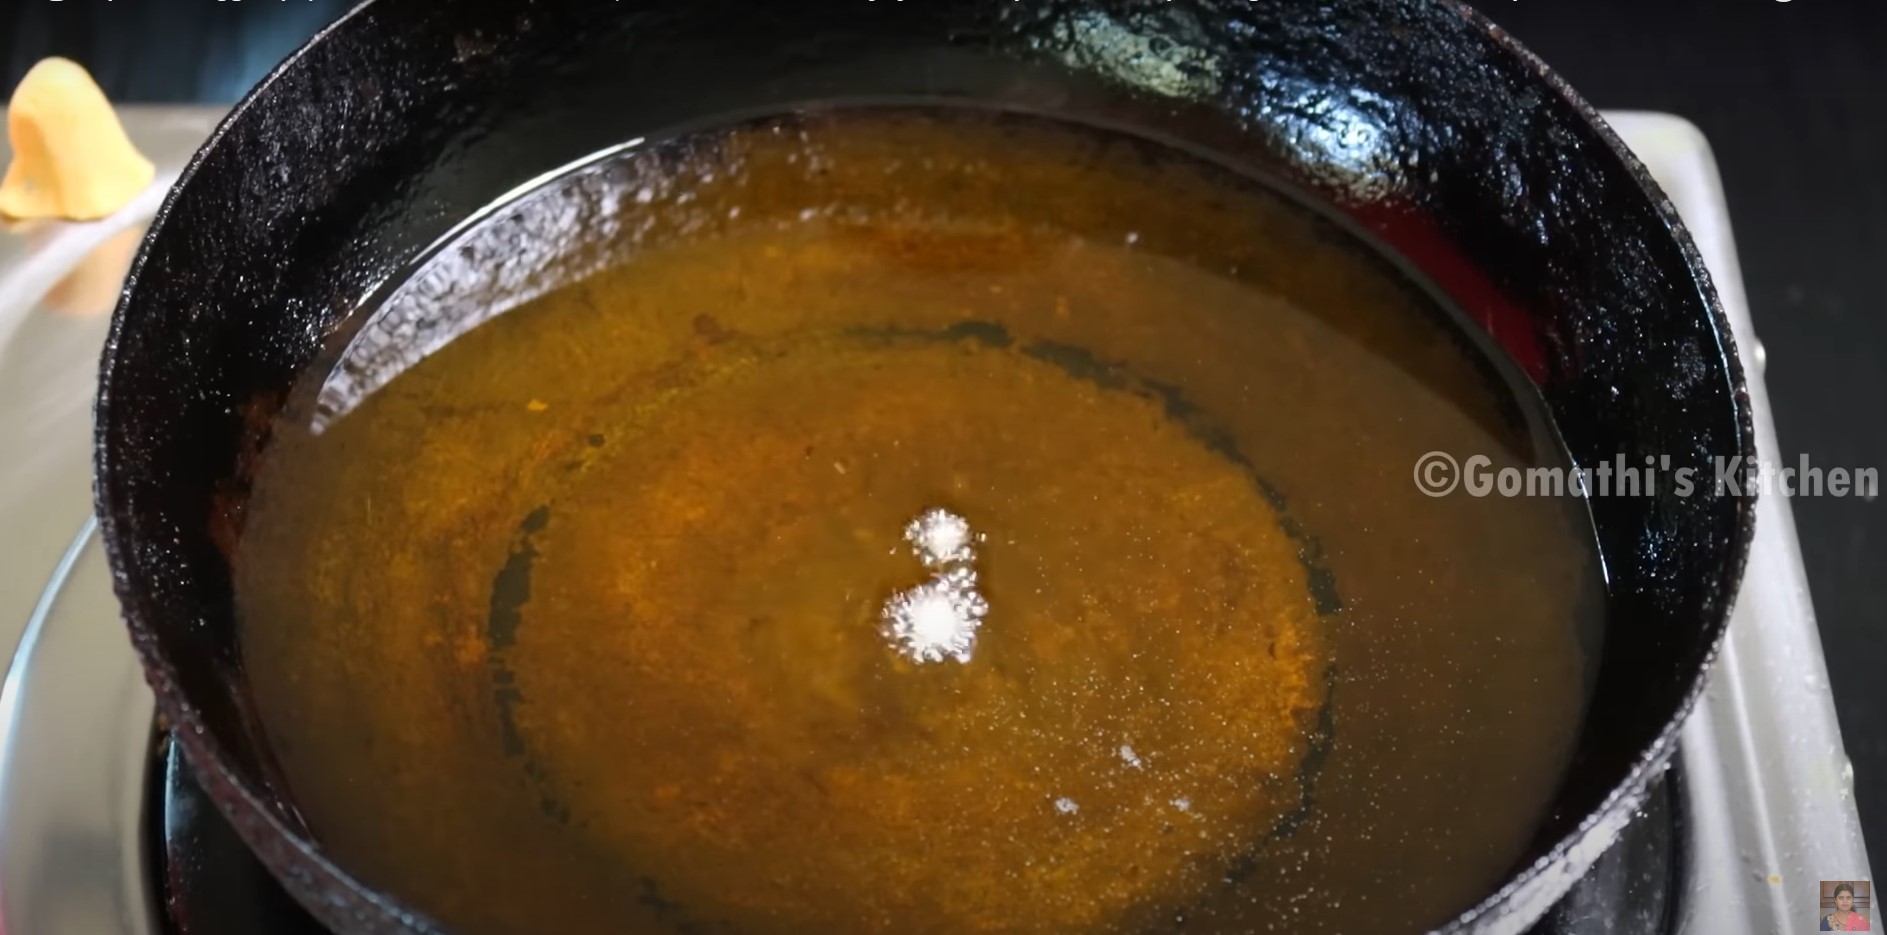
Heat oil for frying the ribbon murukku.

-
Test the hotness of the oil. Add a small piece of the dough in the oil and it should come up progressively. If it comes up fast, the oil is hot, so reduce the flame. If it sticks or is at the bottom or comes up slowly, the oil is not hot enough, so increase the heat flame.
-
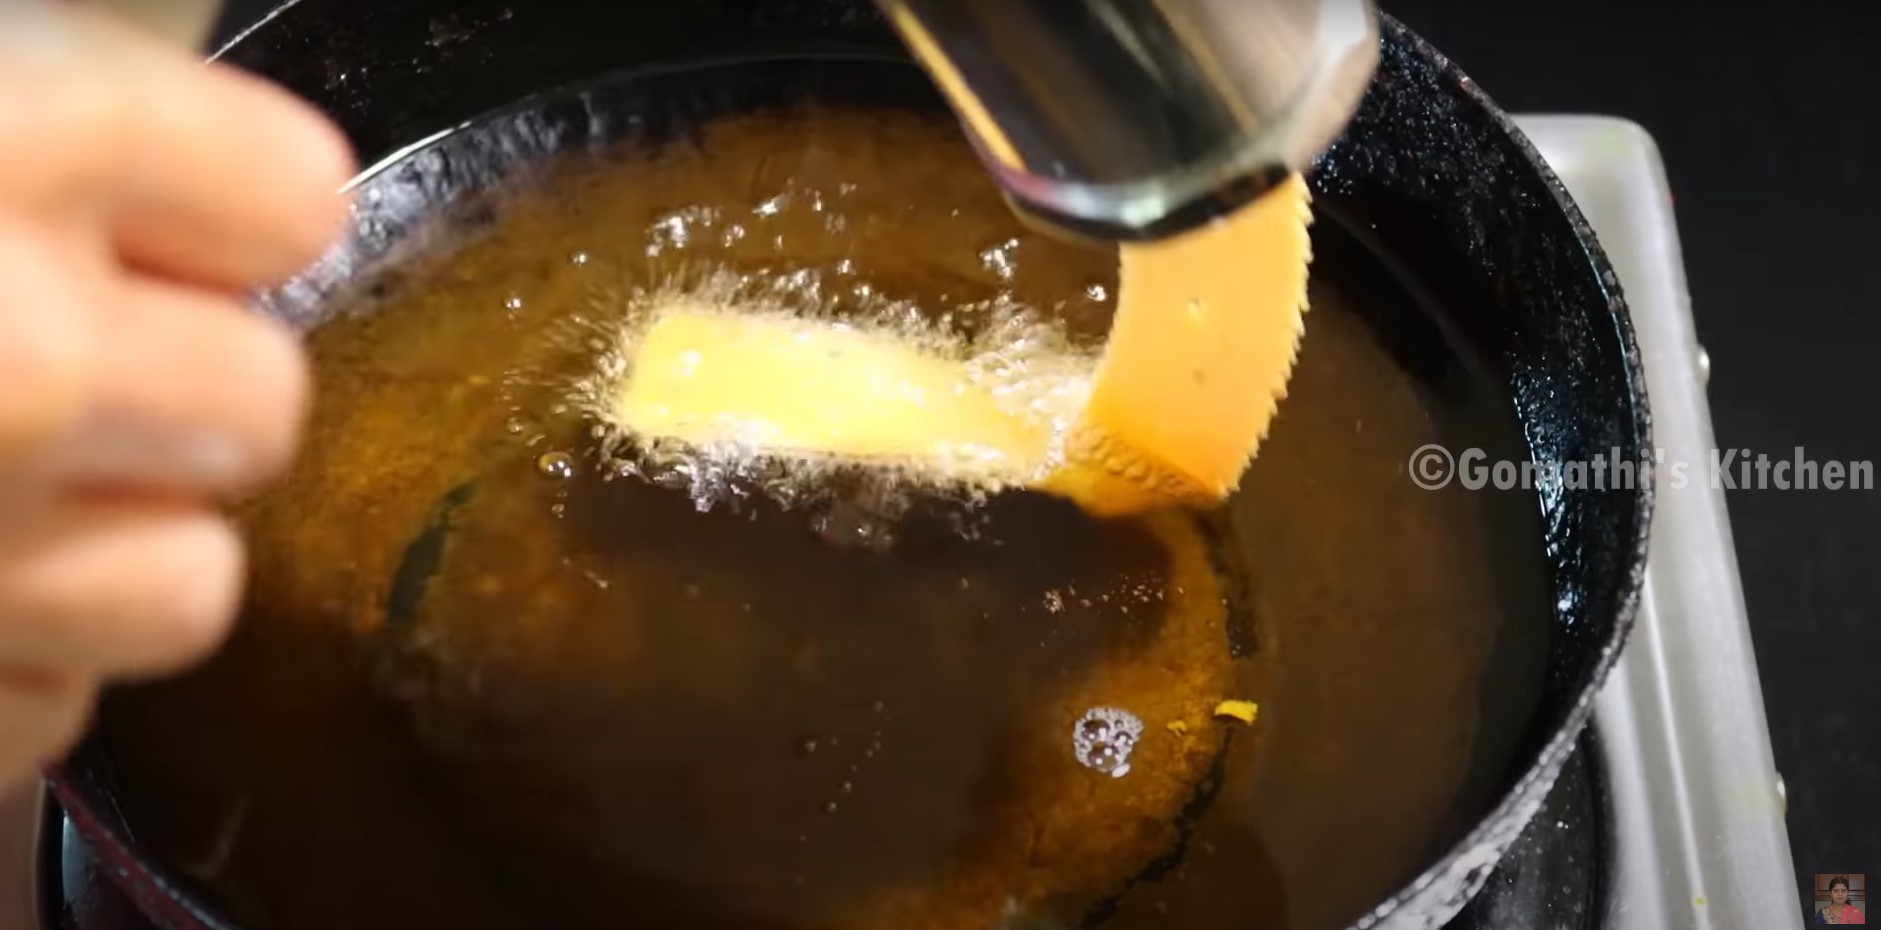
When the oil is hot enough, directly press holding the kitchen press on top of the oil and let the ribbon murukku directly fall in the oil.
-
Do it in batches to avoid stick altogether. Do not disturb immediately as they can break.

-
After some time, flip to cook the other part of ribbon murukku.

-
Fry the ribbon murukku till the oil stops sizzling or till they become crisp and golden.

-
Do not brown them too much. Then take them out.

-
Place the fried ribbon murukku on kitchen paper towels to soak extra or excess oil. In this same way fries the remaining murukku in batches.

-
Once they cool at room temperature, then store murukku in an airtight container or jar at room temperature.

-
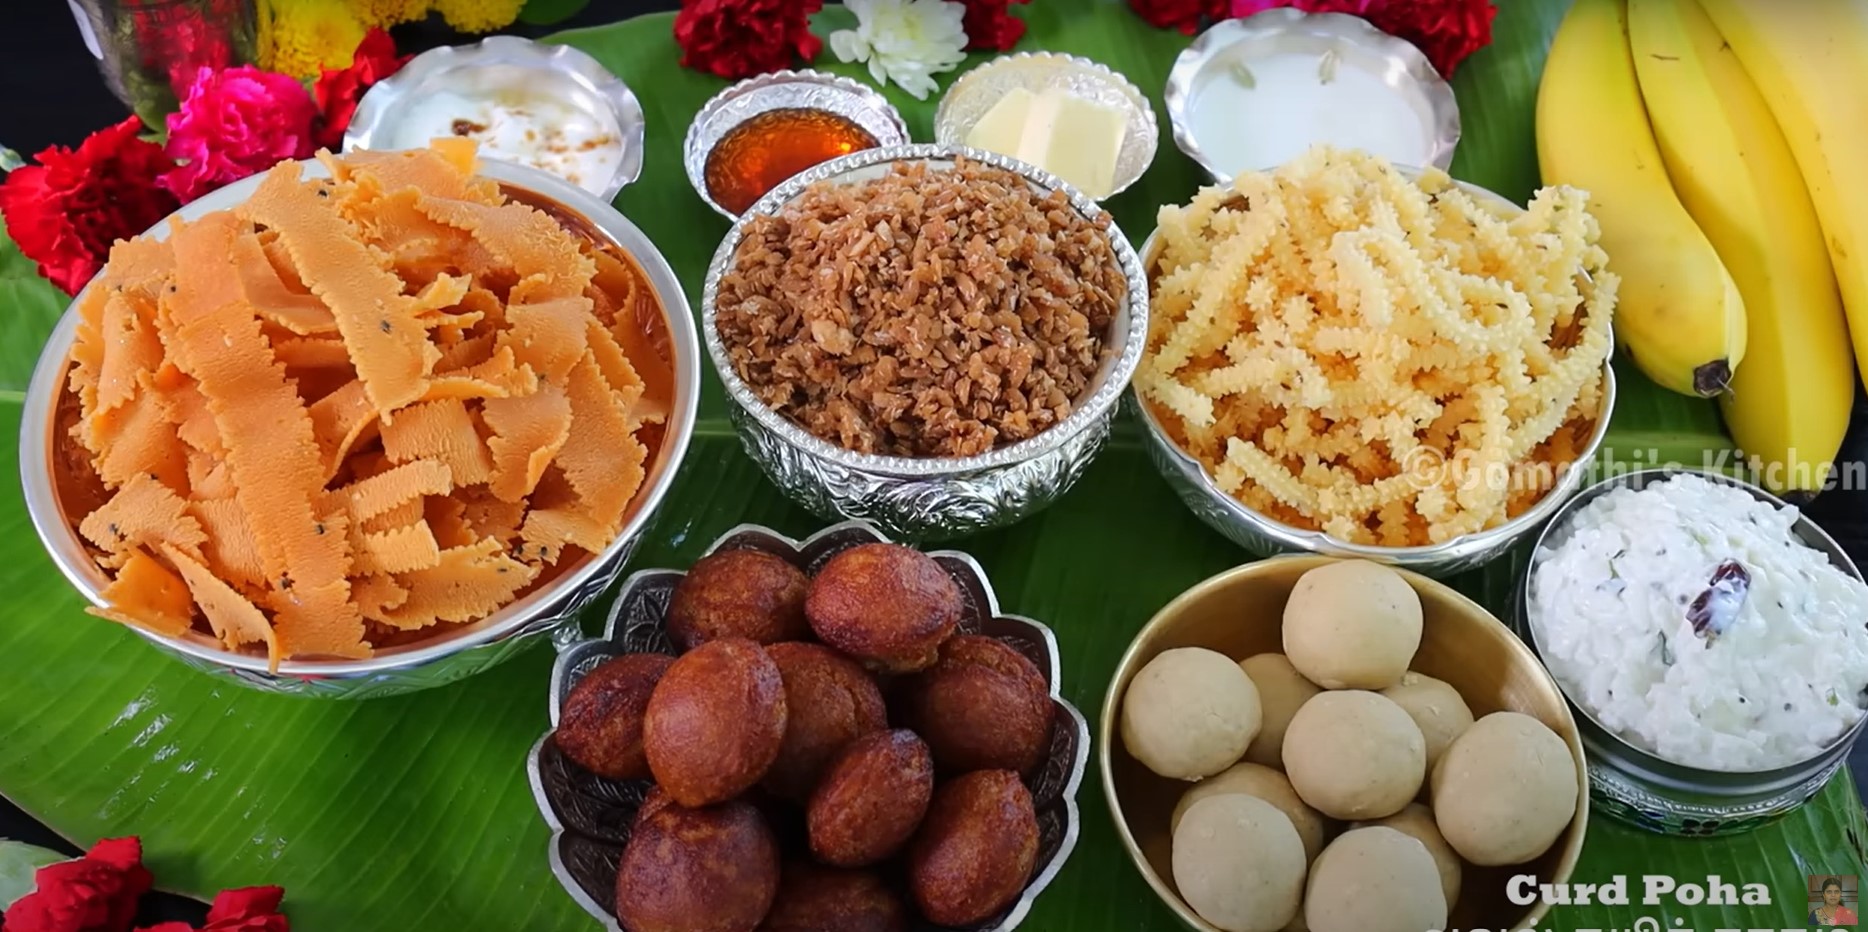
Tasty and crispy ribbon murukku is ready for serving.
Note
- Deep fry these murukku in a medium to low flame. so that it gets cooked evenly.
- If the murukku breaks in the oil, the dough is slightly dry. Add a few teaspoons of water. Mix very well and knead the dough again.
- If you do not get a proper shape, then this means that the dough has become too moist. Add some rice or gram flour and mix well.
- Taste the murukku piece and if it feels dense or hard, then add 1 to 2 teaspoon more of butter. Mix very well and knead again.
- If the murukku looks very oil and has absorbed too much of oil, then add a few teaspoons of rice flour and mix again. This happens if too much fat has gone in the dough.
- Store these snacks in an airtight container for longer shelf life. it should easily last long for a minimum of 15-20 days easily.
